Don't miss our holiday offer - up to 50% OFF!
How to dye denim jeans
How to Dye Denim Jeans: A Complete Guide to Refreshing Your Favorite Pair
There comes a time in the life of every beloved pair of denim jeans when they start to look a little tired. Maybe they’ve faded beyond their former glory, or perhaps you’re just craving a bold new color. Instead of retiring them to the back of your closet or, worse, the landfill, why not give them a new lease on life? Learning how to dye denim jeans is a rewarding DIY project that allows you to customize your wardrobe, reduce waste, and create a one-of-a-kind piece.
This comprehensive guide will walk you through the entire process, from choosing the right dye to aftercare, and will showcase some inspiring real-world examples of denim transformation.
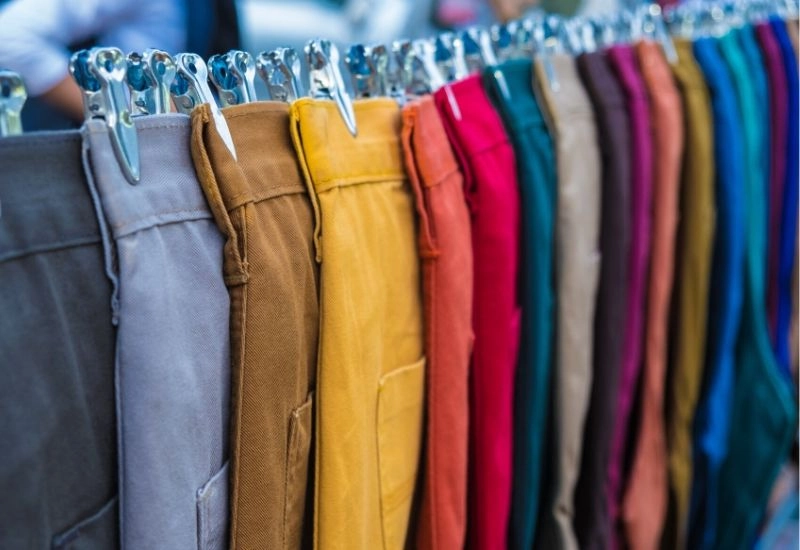
Why Dye Your Jeans?
Before we dive into the “how,” let’s consider the “why.” Dyeing your jeans is more than just a craft; it’s a sustainable fashion choice. It extends the garment’s life, saving water and resources needed to produce a new pair. It’s also a powerful form of self-expression. Whether you want to restore a deep indigo, venture into a vibrant red, or even try a dark black, the power is in your hands.
Choosing the Right Dye for Denim
Not all dyes are created equal, especially when it comes to denim’s sturdy cotton twill. Your primary choices are:
- Fiber Reactive Dyes (e.g., Procion MX): Excellent for natural fibers like cotton. They require a fixative (soda ash) to bond the color to the fabric, resulting in vibrant, long-lasting hues. Ideal for bright colors and tie-dye effects.
- All-Purpose Dyes (e.g., Rit DyeMore): A good option for blends. While Rit All-Purpose works on cotton, Rit DyeMore is specifically formulated for synthetic fibers like polyester and poly/cotton blends, which are common in modern stretch denim. Always check your jean’s fabric content.
- Natural Dyes: For the purists, options like indigo, avocado pits, or black beans offer an organic, though often less colorfast, alternative. This process is more complex and time-consuming.
Pro Tip: For 100% cotton denim, fiber reactive dyes provide the best and most durable results. For jeans with elastane or polyester, DyeMore is your safest bet.
A Step-by-Step Guide to Dyeing Your Jeans
What You’ll Need:
- A pair of clean, dry denim jeans
- Fabric dye of your choice
- A large plastic tub or stainless-steel sink
- Rubber gloves
- Hot water
- Salt (for all-purpose dye) or Soda Ash (for fiber reactive dye)
- A long stirring utensil (like a wooden spoon)
- A well-ventilated area or outdoors
The Dyeing Process:
- Wash and Prep: Start with a clean slate. Wash your jeans in warm water without fabric softener. Softener can create a barrier that prevents the dye from adhering properly.
- Set Up Your Dye Station: Choose a location where spills won’t be a disaster—outdoors is ideal. Protect surfaces with plastic sheets or old newspapers. Wear old clothes and those essential rubber gloves.
- Mix the Dye Bath: Follow the manufacturer’s instructions carefully. Generally, this involves dissolving the dye powder in a small amount of hot water before adding it to your main tub of hot water. For all-purpose dye, you’ll often add salt to help with color absorption. For fiber reactive dyes, you’ll dissolve the soda ash separately and add it later.
- Submerge and Soak: Wet your jeans thoroughly with clean water. This helps them absorb the dye evenly. Wring them out slightly and submerge them in the dye bath. Use your stirring utensil to agitate the mixture continuously for the first 10-15 minutes, ensuring every part is saturated and preventing splotches.
- Let it Sit: Continue to soak the jeans, stirring occasionally. The longer they soak, the darker and more intense the color will be. For a significant color change, aim for at least 30-60 minutes.
- Rinse and Wash: Wearing your gloves, remove the jeans from the dye bath. Rinse them under cold running water until the water runs clear. This may take several minutes. Then, wash them alone in your washing machine on a warm cycle with a small amount of mild detergent.
- Dry: Hang your jeans to dry, preferably in the sun. Avoid using a dryer for the first few washes, as heat can set any remaining loose dye and also cause fading.
Real-Life Case Studies: Dyeing in the Wild
Theory is great, but real-world examples bring the process to life. Here are a few notable cases:
Case Study 1: The Vintage Levi’s Restoration
A vintage denim collector found a perfect-fitting pair of 501s from the 1980s, but they were badly faded and had a stained left knee. Instead of discarding them, they used a fiber reactive indigo dye to restore them to a rich, uniform dark blue. The result was a pair that looked brand new but retained the classic, coveted Levi’s fit. The dye covered the stain perfectly, saving a piece of denim history.
Case Study 2: The Pastel Tie-Dye Trend
Inspired by the early 2020s fashion trends, a DIY fashion blogger took a pair of old, light-wash jeans and transformed them using a Procion dye in a dusty pink shade. She used a crumple-and-bind tie-dye technique before submerging them, creating a beautiful, marbled pastel effect. The project was a huge hit on Instagram, demonstrating how dyeing can be used for artistic patterns, not just solid colors.
Case Study 3: The Black Jeans Rescue
A common problem: black jeans that have turned a dull, greyish hue after many washes. A user on a Reddit DIY forum documented their process of using Rit DyeMore for Synthetics in Graphite to revive their favorite poly-cotton blend black jeans. The result was a deep, rich black that made the jeans look expensive and new again, proving that you don’t need to be a professional to achieve professional-looking results.
Troubleshooting Common Issues
- Splotchy Color: This is usually caused by inadequate stirring or dry patches when the jeans were submerged. Always pre-wet your fabric and agitate continuously at the start.
- Color is Too Light: The dye bath may have been too weak, the water wasn’t hot enough, or the soaking time was too short. Don’t be afraid to use more dye than the package recommends for a strong color.
- Dye Bleeding Afterward: This means the dye wasn’t fixed properly or rinsed thoroughly. Always rinse until the water is clear and consider using a commercial dye fixative or a vinegar rinse (for some dyes) after the initial rinse to help set the color.
Conclusion
Dyeing your denim jeans is a simple, cost-effective, and immensely satisfying way to breathe new life into your wardrobe. It empowers you to be both a consumer and a creator. By following these steps and learning from the successes of others, you can transform a faded, forgotten pair into your new favorite statement piece. So, raid your closet, pick a color, and start your own denim revival project today. Your perfect pair is waiting to be rediscovered.