Don't miss our holiday offer - up to 50% OFF!

How to Design Your Perfect Pair of Custom Embroidered Denim Shorts

Summer style is all about comfort, personality, and standing out from the crowd—and what better way to do that than with a pair of custom embroidered denim shorts? Whether you’re crafting a one-of-a-kind piece for personal wear, designing brand merchandise, or creating a thoughtful gift, custom embroidery turns basic denim into a statement that reflects your unique taste. In this guide, we’ll walk you through every step to design the perfect pair, from choosing the right denim base to finalizing your embroidery design and adding those finishing touches that make your shorts truly yours.
Step 1: Choose the Right Denim Shorts Base
The foundation of your custom shorts is the denim itself—choosing the right pair sets the tone for the entire design. Start by considering your style, body type, and how you’ll wear the shorts (casual outings, festivals, everyday wear, or brand events). Here’s what to look for:
Fit and Style: Denim shorts come in countless fits, and the right one depends on your silhouette and preference. High-waisted styles are flattering for most body types, accentuating the waist and elongating the legs—ideal for bold, large-scale embroidery on the front or back pockets. Low-rise shorts offer a casual, retro vibe, perfect for subtle side or hip embroidery. Loose, baggy jorts (jean shorts) are a streetwear staple, great for oversized, eye-catching designs on the thighs, while slim-fit shorts work best with delicate, minimal embroidery to avoid overwhelming the frame.
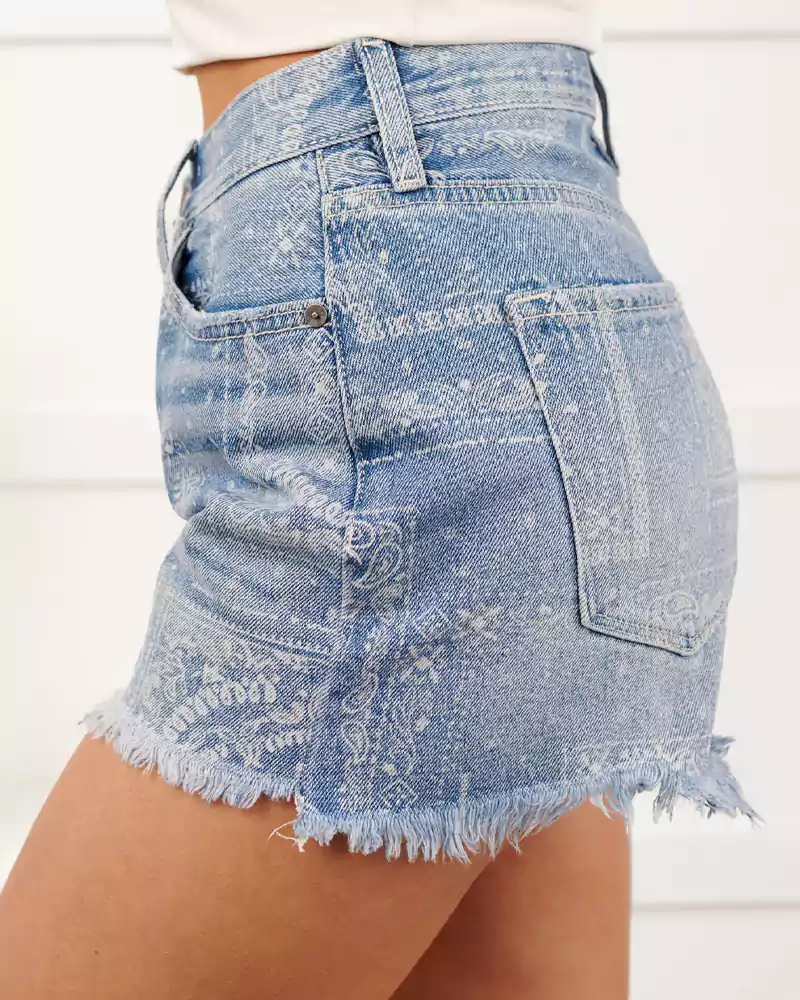
Denim Wash and Color: The wash of the denim impacts how your embroidery pops. Classic medium blue denim is versatile, complementing almost any thread color—bright hues like red, yellow, or pink stand out vividly, while neutral tones (black, white, gray) create a sleek, understated look. Light wash denim has a faded, vintage feel, perfect for bohemian or retro-inspired embroidery (think floral motifs, retro logos, or handwritten text). Dark wash denim is sleek and sophisticated, ideal for metallic threads (gold, silver) or bold white embroidery for a high-contrast effect. For a unique twist, opt for colored denim (white, black, olive green, or pastels) to match your design’s theme.
Quality and Details: Look for denim with a sturdy weave—thicker denim holds embroidery better and resists fraying, while lighter denim is more comfortable for hot summer days (just avoid overly thin fabric that might stretch or tear around the embroidery). Consider pre-existing details: frayed hems, rips, or distressing add character and pair well with casual embroidery, while clean, unaltered denim lets your design take center stage. If you’re designing for wholesale or brand use, prioritize durable denim that holds up to repeated washing and wear.
Step 2: Define Your Embroidery Design Vision
Embroidery is the heart of your custom shorts, so take time to refine your design to ensure it aligns with your style and the shorts’ purpose. Whether you’re a seasoned designer or a beginner, start with these key considerations:
Design Purpose and Audience: Are the shorts for personal use, a brand, a team, or a gift? For personal wear, let your hobbies, favorite quotes, or symbols (e.g., music lyrics, animal motifs, travel memories) inspire you. For brand merchandise, incorporate your logo, tagline, or brand colors to boost recognition. Team shorts might feature team names, numbers, or mascots, while gifts can include personalized names, initials, or meaningful symbols (e.g., a birthday message or anniversary date).
Design Size and Placement: Placement is crucial for both aesthetics and comfort. Small, subtle designs (e.g., initials, tiny logos, or mini motifs) work well on front pockets, side seams, or the waistband—perfect for a minimalist look. Larger designs (e.g., full thigh patterns, bold logos, or intricate floral arrangements) shine on the back pockets, thighs, or even the front of the shorts (avoiding the crotch area for comfort). For petite frames, skip overly large or dense embroidery that can visually overwhelm; instead, opt for scattered small motifs. Taller or curvier figures can pull off bolder, larger designs for a balanced look.
Design Complexity and Stitch Type: Keep your design’s complexity in mind—intricate details (e.g., fine text, photorealistic images) can be difficult to embroider on denim and may not hold up well over time. Simple, bold shapes, vector-style designs, and thick lines translate best to embroidery. Choose stitch types that match your design: satin stitches work for smooth, solid areas (e.g., logos or large motifs), backstitches are ideal for outlines or text, and fill stitches add texture to larger sections. If you’re new to embroidery, start with basic designs—you can always add layers or details as you gain confidence.
Color Coordination: Pair thread colors with your denim base for maximum impact. Complementary colors (e.g., blue denim with orange thread, black denim with white thread) create a bold, eye-catching contrast, while monochromatic schemes (e.g., light blue denim with pale blue thread) offer a subtle, cohesive look. Metallic threads (gold, silver, copper) add a touch of glamour to dark or neutral denim, while neon threads are perfect for festival or streetwear styles. Avoid clashing colors—test thread swatches against your denim if possible to ensure harmony.
Step 3: Finalize Your Design and Prepare for Embroidery
Once you have a clear vision, it’s time to turn your idea into a design ready for embroidery. Whether you’re DIY-ing or working with a professional embroiderer, these steps ensure a smooth process:
Sketch and Refine Your Design: Start with a rough sketch on paper, noting the size, placement, and color scheme. Adjust the design to fit the shorts’ dimensions—for example, a back pocket design should be slightly smaller than the pocket to avoid overlapping the edges. If you’re creating a digital design (for professional embroidery), use software like Adobe Illustrator or free tools like Canva to create a vector file (vector graphics maintain clarity at any size, unlike pixelated images). Keep text legible—avoid overly small or fancy fonts that are hard to embroider and read.
Choose Your Embroidery Method: Decide whether to embroider the shorts yourself or hire a professional. DIY embroidery is a fun, budget-friendly option for simple designs—you’ll need an embroidery hoop, denim-safe needles, embroidery floss, and a water-soluble fabric marker to transfer the design. For complex designs, large orders, or a polished finish, work with a professional embroiderer who has experience with denim. Provide them with your vector design, thread color preferences, and placement notes to ensure accuracy.
Test the Design (If Possible): If you’re DIY-ing, test your design on a scrap piece of denim first to practice stitches, check color placement, and ensure the design fits as intended. Professional embroiderers can provide a sample stitch-out of your design on denim—this is a small investment that prevents mistakes on your final shorts. Adjust the design, thread colors, or placement based on the test to perfect the look.
Step 4: Add Finishing Touches for a Polished Look
Embroidery is the star, but small finishing touches elevate your custom shorts from great to perfect, adding personality and durability:
Distressing or Fraying: If your denim shorts aren’t already distressed, add subtle rips, frayed hems, or sanding for a vintage, casual vibe. Frayed hems pair beautifully with bohemian embroidery (e.g., floral vines or tassels), while light distressing around the pockets complements minimalist designs. Avoid over-distressing near the embroidery—this can damage the stitches and weaken the fabric.
Additional Embellishments: For extra flair, add small accents that complement your embroidery. Iron-on patches (matching your design’s theme) work well with casual shorts, while studs, rhinestones, or fabric paint can add texture and shine. Tassels or drawstrings on the waistband or hems add movement and a boho touch—just ensure they don’t interfere with the embroidery.
Wash and Care Prep: To protect your embroidery, wash the shorts inside out in cold water on a gentle cycle, and avoid using bleach or fabric softener (these can fade thread colors and weaken stitches). Hang dry or tumble dry on low heat—high heat can shrink the denim and distort the embroidery. If you’re gifting or selling the shorts, include care instructions to help the recipient preserve the design’s quality.
Step 5: Wear and Enjoy Your Custom Creation
Once your custom embroidered denim shorts are complete, it’s time to show them off! Style them to match your design’s vibe: pair bohemian floral-embroidered shorts with a flowy blouse and sandals for a summer picnic, or rock bold logo-embroidered jorts with a graphic tee and sneakers for a streetwear look. For brand merchandise, wear them to events, pop-ups, or daily outings to boost visibility. The best part? No one else will have a pair exactly like yours—your custom embroidery tells a story and makes a stylish statement wherever you go.
Designing custom embroidered denim shorts is a creative, rewarding process that lets you merge comfort, style, and individuality. By choosing the right denim base, refining your design, and adding thoughtful finishing touches, you’ll create a pair that’s not just a summer staple, but a reflection of your unique taste. Whether you’re a DIY enthusiast or working with a professional, the key is to have fun and let your creativity shine—after all, the perfect pair of custom shorts is the one that makes you feel confident and proud to wear it.